The Canvas
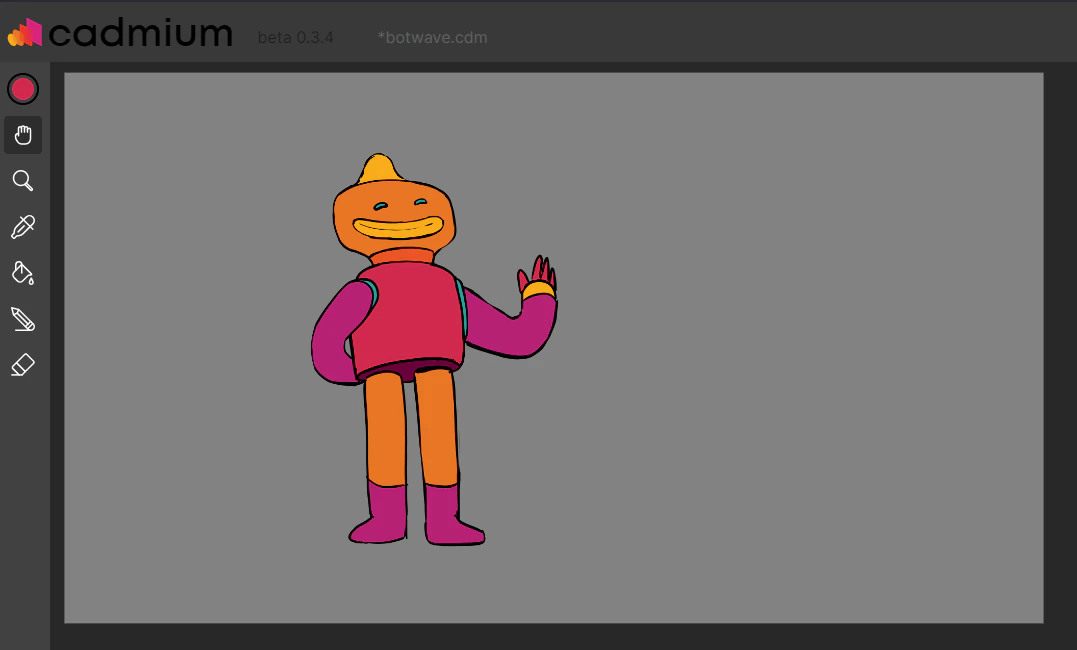
Hand Tool
Like other drawing programs, the hand tool allows you to move around your canvas by left-clicking and dragging. The shortcut is holding Space.Zoom Tool
The Zoom tool zooms in and out (toggled by Alt/Option). You can also use the middle mouse scroll, or right-click and drag to zoom in and out of the canvas.Eyedropper
The eyedropper tool allows you to sample any pixel color on the canvas. If a semi-transparent pixel is sampled, the eyedropper will return the full color value of the pixel. By default, the background color of the canvas is white, but you can change it in the Color Menu.The Timeline

- Show or collapse the timeline by clicking the arrow in the top-left corner, or pressing T.
- Once images are imported, the timeline displays the image size next to the collapsible arrow.
- Press Enter or the play button to play through your sequence at 24 fps.
- Use the Left/Right arrow buttons to go to the previous or next frame.
- Click and drag in the numbered area above the frames to scrub through the timeline.
Layers
The timeline has two layers: one for color and one for line work. When you start a new file, each layer has a drop zone where you can drag and drop images or folders.Layer Visibility
Toggle layer visibility by clicking the eyeball icon next to each layer. Visibility affects how your images are exported — see the Exporting section for details.Selecting Layers
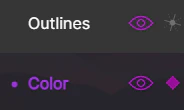
Outlines Layer
This is where you import your line images. The star icon next to the layer name enables an experimental line colorization feature.Color Layer
Below the Outlines Layer is the color layer — where you import or create reference frames, and where colorized images populate. The diamond icon next to the visibility icon indicates a reference frame is selected. A half-filled diamond means both a reference and non-reference frame are selected. Click the diamond to toggle frames as reference images. For more information about working with frames, see the Importing Frames section.Key Frames
